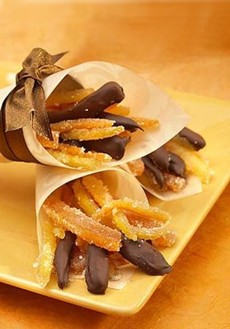
Candied orange peel, a favorite confection. All photography © Lou Manna.
December 2010
|
 |
Food Photography Tips
Page 2: Tips Food Photography That Make Everything More Luscious
More tips from food photographer Lou Manna, to make everything look tastier.
7. White Balance Or “Whipped Cream Balance”
Anything but stark white whipped cream is less than pixel worthy. Don’t spoil your holiday food photographs by not knowing how to set your white balance. The auto white balance setting in your camera normally does a good job for most lighting situations. If you’re shooting indoors with household lamps (under incandescent or tungsten lighting), use your camera’s preset for tungsten white balance. If the lighting is fluorescent (hello, office holiday party!), then the fluorescent white balance setting will work better. A good trick is to take a custom white balance reading off of a white or grey card for a more accurate color rendition in your photo—and then adjust accordingly.
8. Setting The Scene [Modes]
Many cameras have Scene Modes that automatically adjust the camera’s settings for you (like ISO and white balance). Try Cuisine Mode, Indoor Mode, and Candlelight Mode to explore different effects and presets that are perfect for meal time.
9. Slow And Steady Wins The Race
A tripod helps to avoid camera shake under low light conditions and with slow shutter speeds (below 1/60). To further reduce camera shake, set your camera to take the picture a few seconds after pressing the shutter release button. This will reduce the movement your hand might cause when taking the picture. With a DSLR, try the mirror-lock up feature to further reduce camera shake.
|
|

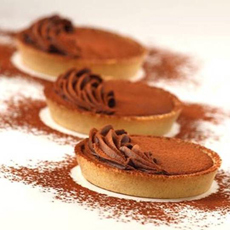
Shooting one item at a time often produces the best results. |
10. Macro—And Cheese
To shoot food close up, use the macro setting on a point and shoot camera, which is typically indicated with a flower icon. Use a macro or a close focusing lens on a camera with interchangeable lenses to get closer to your subject. You can use Macro to photograph the smiling faces of your guests around the table, too, right up close.
11. Another Stage For Your Shower Curtain
Use household items such as aluminum foil, makeup mirrors and white napkins to reflect the light source into the shadow areas of the photo and capture more detail. To soften the light source, try diffusing it with wax paper or a sheer white cloth to achieve more details in the bright portions of the photo.
12. Don’t Flash Your Party Guests!
Try to avoid using your camera’s built-in flash since this direct light flattens the subject and reduces texture and depth of faces and food. It is better to use the available light from lamps and lighting fixtures in the room or natural daylight from a window.
|
|

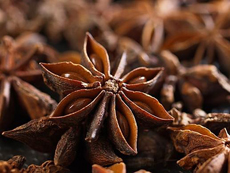
Make one star anise the star of the photo. |
Go To The First Page
Tips and photography © Copyright Lou Manna. Other material

|


